First, I peeled, pitted and chopped nicely ripe mangoes. I like them to be really sweet so that the leather is almost candy like, but without added sugar.
After preparing I just threw them in the blender with a little water until smooth. Mangoes blend beautifully!

Then came the straining to remove any fiberous materials or lumps


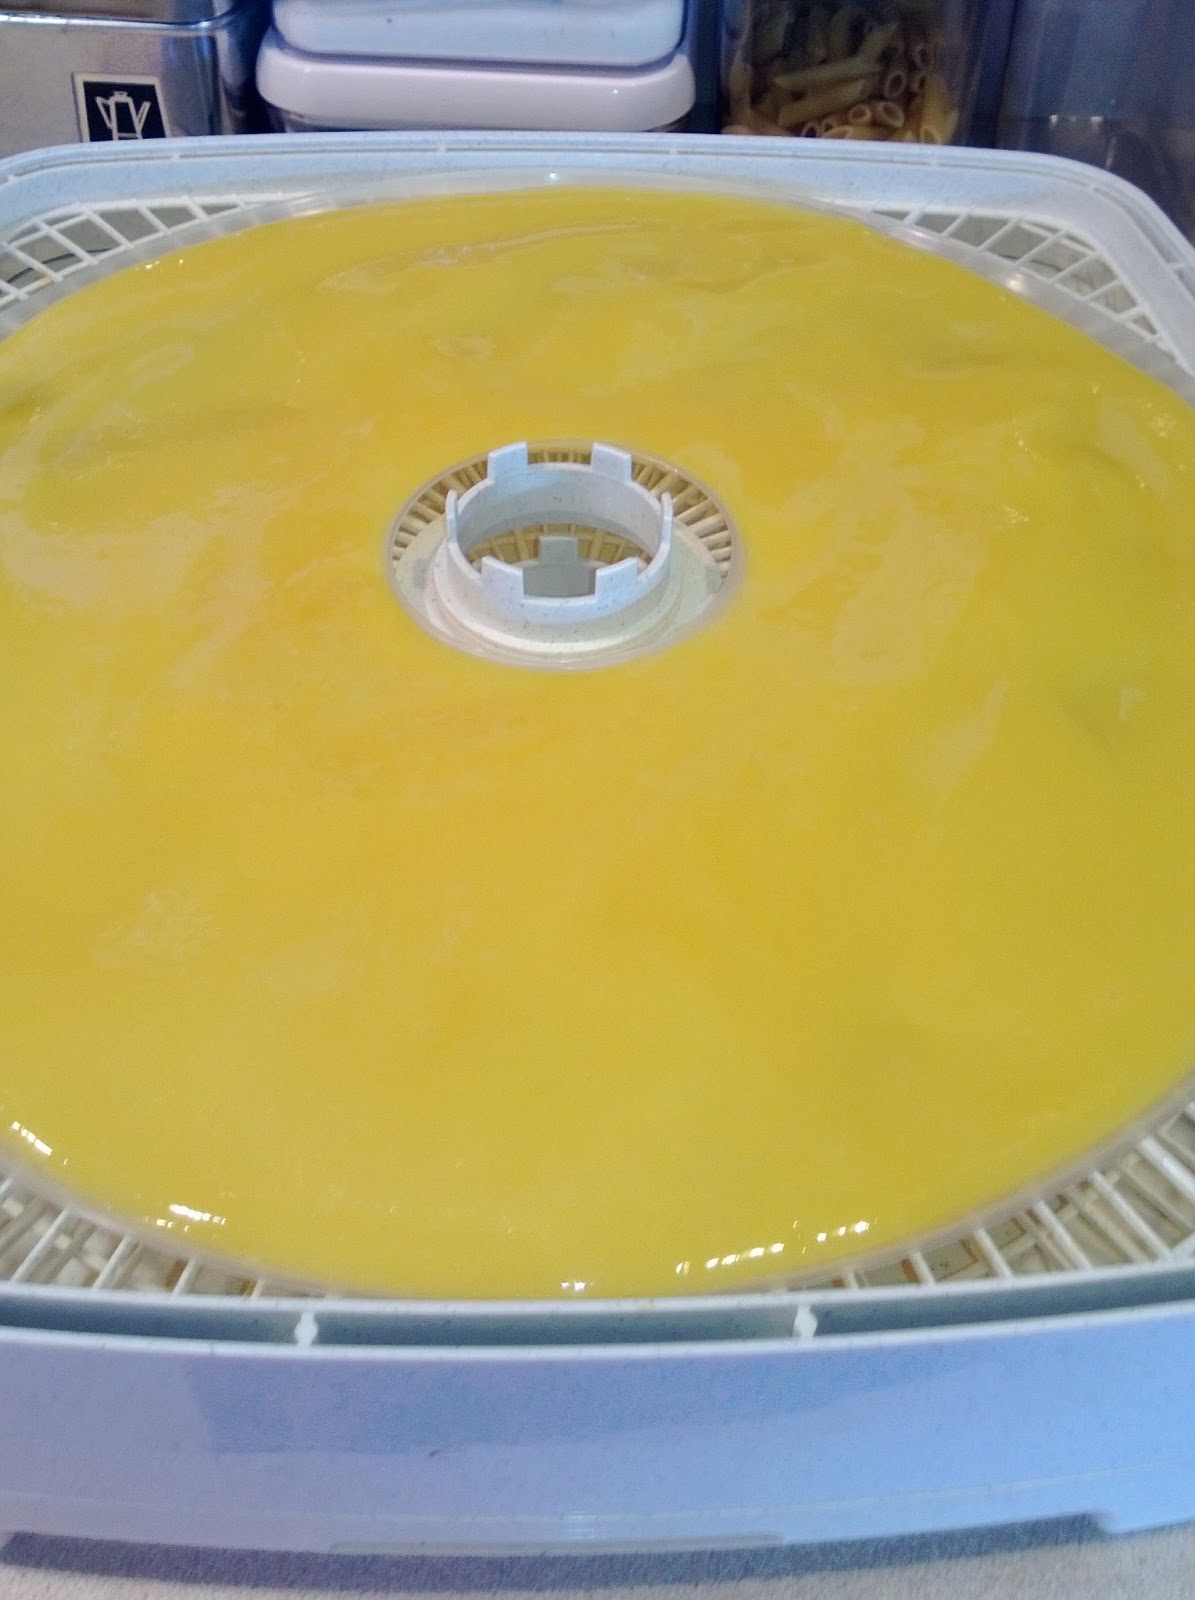
Next, it gets poured onto the fruit roll up tray that goes with my dehydrator. If you do not have one, wax paper or plastic wrap is supposed to work. My trays are BPA free though, I can not say the same for the wrap with any surety and wax paper will melt a bit in the warmth.

Spread out on the tray, making it a little thicker around the outside edge. I spread it evenly this time and the edges dried out much faster than the rest of the leather.

Let dehydrate at 135 for a few hours. Check it occasionally

Once the leather has set up, gently flip it so that it dries evenly. I am going to use cooking spray on the sheet next time though, unless I can come up with a better alternative as they are sticky, even on the special sheets. This one came out pretty good, the next one was too dry.


The problem I ran in to was that there was a teeny spot that took forever to dried, so the rest cracked and got a little too dry, as this next picture shows. Once dried and cool (it is very important to cool thoroughly), lay it on plastic wrap and roll it up.

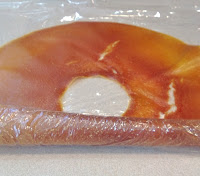
Finished!

No comments:
Post a Comment